Shelby Cobra 427

Get feedback from others on your works in progress
doublez
Posts: 255
Joined: Tue Jan 01, 2008 10:44 am

Post by doublez » Thu Jul 10, 2008 5:00 pm

Borgleader
I guess I should go back to that. I made them, then didn't look at them again, but you're right about the squareness.

CTZn
I have no idea how to make a bump to do what I want to do for a headlight. Any tips would be good :wink:

I tried colors becuase I didn't know about the temperature option. Where is it?

User avatar
CTZn
Posts: 7240
Joined: Thu Nov 16, 2006 4:34 pm
Location: Paris, France

Post by CTZn » Thu Jul 10, 2008 11:31 pm

Hi doublez !

I can't tell you where temperature setting is because I don't use blender, but first you will have to switch light type from RGB to blackbody type, explore blendigo UI a bit :) Then when using temperature, the reference one will be set from the camera white point. Any light featuring a temperature below this one will appear reddish, temperatures above will tend toward blue. A light with the same temperature than camera white point will be... white of course !

Now for the bump... I didn't bother with searching for a reference image but I believe that blurred vertical stripes would do. A quick howto would be:

- Make a new image in your favourite painting software, say 512x512.
- make your way to have alternatively B&W vertical stripes, say each 20px wide (20px white, 20px black and so on).
- blur the map until all edges appear soft and you are set, basically.

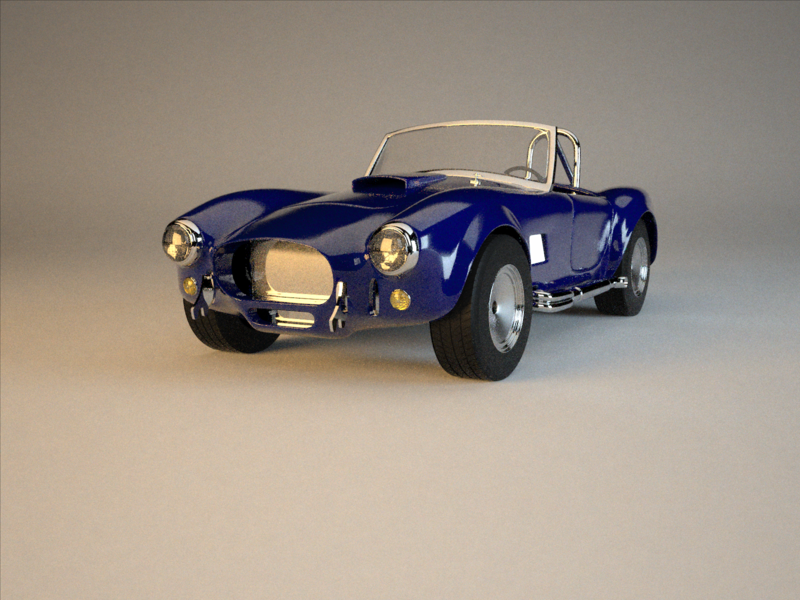
On more recent vehicules the design would be different of course but that one should be good enough for a starting point, and for this Cobra thing ;)

I hope that helped !
obsolete asset

User avatar
Borgleader
Posts: 2149
Joined: Mon Jun 16, 2008 10:48 am

Post by Borgleader » Fri Jul 11, 2008 12:00 am

The temperature setting will be right next to the blackbody dropdown menu (when you'll have switched it from RGB to Blackbody), it appears when you do that and the other settings disappear. I was confused at first, but Smartden walked me through it over IRC.

User avatar
CTZn
Posts: 7240
Joined: Thu Nov 16, 2006 4:34 pm
Location: Paris, France

Post by CTZn » Fri Jul 11, 2008 12:34 am

me insisting:

You will experience much natural hot/cold moods by using temperature than setting arbitrary red/blue colors, althought that at a certain artistic mastery level, these can be efficient too ;)
obsolete asset

doublez
Posts: 255
Joined: Tue Jan 01, 2008 10:44 am

Post by doublez » Fri Jul 11, 2008 2:38 pm

I messed with temperatures and bumpmapping today, and I think I got it to where I want. I'll post a render of it tomorrow. I still need to get to that tire though.

doublez
Posts: 255
Joined: Tue Jan 01, 2008 10:44 am

Post by doublez » Sat Jul 12, 2008 6:09 am

Here's the update. I forgot the headlight and windshield had the same material :D

Image

User avatar
Kram1032
Posts: 6649
Joined: Tue Jan 23, 2007 3:55 am
Location: Austria near Vienna

Post by Kram1032 » Sat Jul 12, 2008 9:23 am

Great improvements :D
The IoR seems to be fine, but maybe the exponent of the rubber is slightly too high... Although I already've seen tires, which where nearly as reflective as that... hmmm...

Are you using RGB- or Blackbody lights? Using Blackbodies should look more natural :)

doublez
Posts: 255
Joined: Tue Jan 01, 2008 10:44 am

Post by doublez » Sat Jul 12, 2008 10:28 am

Thanks kram!

I'm pretty sure the exponent is at 50, but I'd have to check to make sure. The ior is 1.1

I'm using blackbodies as suggested by CTZn :)

User avatar
CTZn
Posts: 7240
Joined: Thu Nov 16, 2006 4:34 pm
Location: Paris, France

Post by CTZn » Sat Jul 12, 2008 12:12 pm

Hey yes !

Well it's true that with RGB you have more saturation, at the end you do what you want doublez (no need to be a "master" as I stated ;)) None the less I'm glad I helped you in aknowledging the temperature stuff !

I guess the bump u used for the windshield can do well for headlights, just waiting to see the result.
obsolete asset

doublez
Posts: 255
Joined: Tue Jan 01, 2008 10:44 am

Post by doublez » Sat Jul 12, 2008 12:27 pm

I like what I got with the blackbodies and it was really easy to get. I don't know if I could get the same with rgb.

The bump is on the headlight too, it's just scaled to small. The windshield and the headlight had the same material assigned so the bump was put on both pieces.

What should I do about the vent on the side? It has a chrome material and it's reflecting the emitter, so it's white. Should I just use a different material, something less reflective? Maybe plastic?

User avatar
Borgleader
Posts: 2149
Joined: Mon Jun 16, 2008 10:48 am

Post by Borgleader » Sat Jul 12, 2008 1:28 pm

i think it'll end up being white anyway since it probably will never end up having anything else to reflect than the emitter.

doublez
Posts: 255
Joined: Tue Jan 01, 2008 10:44 am

Post by doublez » Sat Jul 12, 2008 4:31 pm

Well, I'll try some stuff first, but it won't be for a little while; I'm going on a trip.

doublez
Posts: 255
Joined: Tue Jan 01, 2008 10:44 am

Post by doublez » Wed Jul 23, 2008 3:08 am

I fixed the tires and the windshield. I tried messing with the vents but it was still hard to tell what it is. Other than that I think I'm done unless anyone has suggestions?

Image

User avatar
Borgleader
Posts: 2149
Joined: Mon Jun 16, 2008 10:48 am

Post by Borgleader » Wed Jul 23, 2008 4:48 am

A render would help to determine that :)

doublez
Posts: 255
Joined: Tue Jan 01, 2008 10:44 am

Post by doublez » Wed Jul 23, 2008 5:40 am

A render of what? The different vent material?

Post Reply
69 posts

Who is online

Users browsing this forum: Ahrefs [Bot] and 53 guests